Monday, April 22, 2024

Hot Air Balloon Tag

Hello friends! I hope you had a good weekend! It has been cold here, even with some snowfall, but spring should be back soon again.

Please note: this post has affiliate links, for which I receive a small percentage of sales generated by the link, at no extra cost to you.


This week we have an Up In The Air theme at the Simon Says Stamp Monday Challenge Blog. I hope you will join us and don't forget to check out the project by our April guest designer Estelle Palumbo aka Atouscrap.

Layers of ink - Hot Air Balloon Tutorial by Anna-Karin Evaldsson.

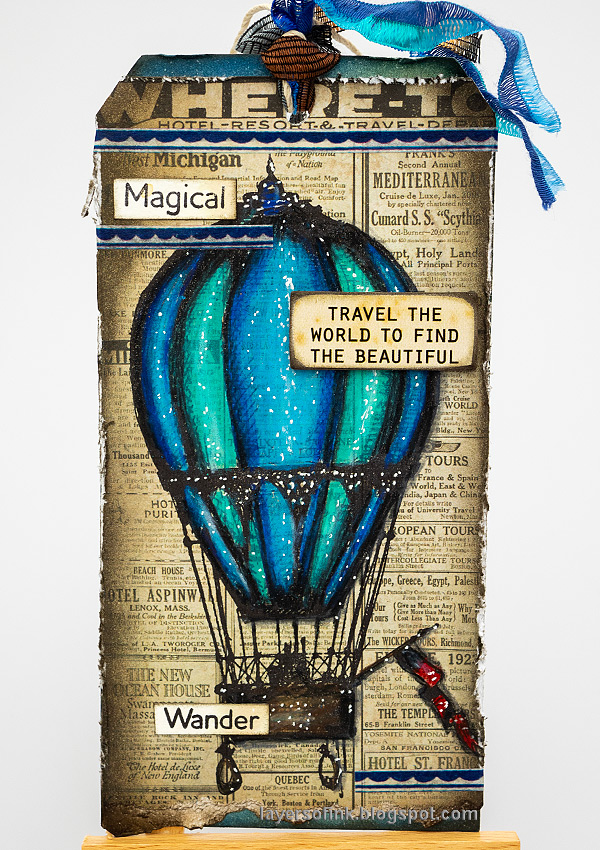
I made a hot air balloon tag, using one of my favorite older stamps by Tim Holtz. I just love seeing hot air balloons fly by. The balloon was colored with pencils this time, on a journal card. Coloring on a tinted and printed background is a really fun technique.
 
Layers of ink - Hot Air Balloon Tutorial by Anna-Karin Evaldsson. Stamp on a journal card.

Start by stamping the balloon from Tim's Remnants set on one of his Journal Cards. 

Layers of ink - Hot Air Balloon Tutorial by Anna-Karin Evaldsson. Color with Prismacolors.

I colored the balloon with Prismacolor pencils and used a white pencil to slightly lighten the area in the center of the different 'parts' while also blending the colors. Add shading on one side of the balloon. You will cover up some of the stamping, but don't worry about that, the stamped cross-hatches will act as a natural shadow.

Layers of ink - Hot Air Balloon Tutorial by Anna-Karin Evaldsson. Add highlights with a white gel pen.

Add highlights with a white gel pen.

Layers of ink - Hot Air Balloon Tutorial by Anna-Karin Evaldsson. Ink with Distress Ink.

Ink with Distress Ink and tear the bottom edge.

Layers of ink - Hot Air Balloon Tutorial by Anna-Karin Evaldsson. Add a sentiment.

Sand the edges of a Tim Holtz Quote Chip Label and ink with Scorched Timber.

Layers of ink - Hot Air Balloon Tutorial by Anna-Karin Evaldsson.

Distress the edges of the panel and ink a tag with blue and brown shades. Adhere the journal card to the tag. I also added three strips of Design Tape Trims. The smaller stamped sentiments come from Simon Says Stamp Forest Scenery.

Layers of ink - Hot Air Balloon Tutorial by Anna-Karin Evaldsson.

As you can see, the text in the backgrounds add texture to the tag and the crosshatches from the stamped impression makes that part of the balloon look darker and adds dimension.

Layers of ink - Hot Air Balloon Tutorial by Anna-Karin Evaldsson.

Let the tag peek out at the bottom.

Layers of ink - Hot Air Balloon Tutorial by Anna-Karin Evaldsson.

I tied the tag with fibers that have been in my stash for many years. Here is an example of using the same balloon stamp together with Clearly For Art Modeling Film

Join us this week in our Up In The Air challenge! You have a chance to win a $25 gift voucher to do some fun shopping at Simon Says Stamp. You have until Monday 8am Ohio time. 1pm UK time, 2 pm CET to join in.


Do you use Instagram? If so please add #sssmchallenge so we can see your entries there too.


Thank you so much for stopping by here today! 

Happy crafting!

Anna-Karin

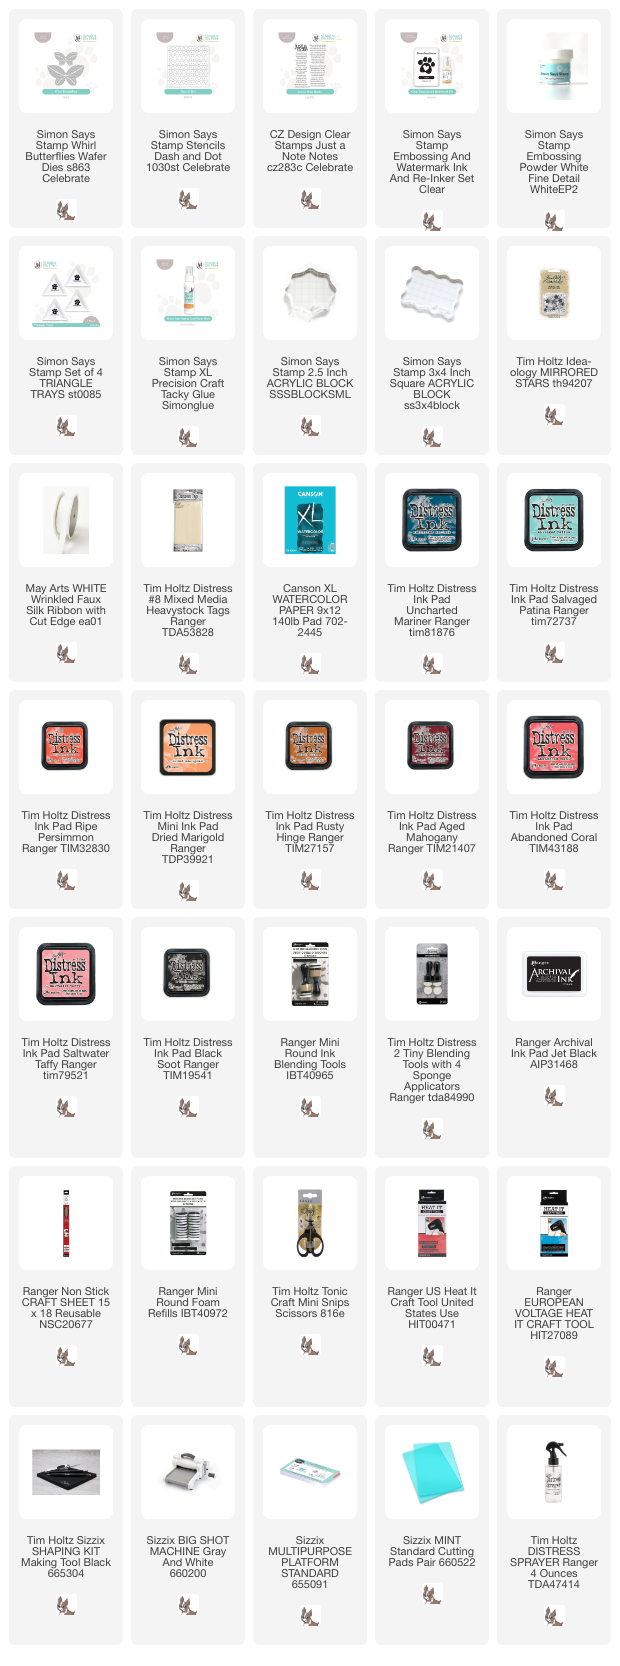
Supplies:

* Please note: the links are affiliate links, for which I receive a small percentage of sales generated by the link, at no extra cost to you.

Saturday, April 20, 2024

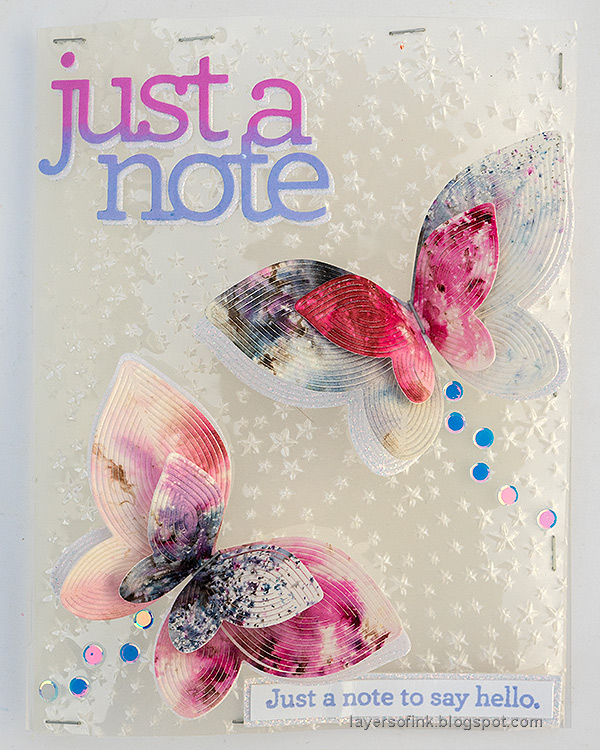
Vellum and acetate embossed card

Hello crafters! Today I have a card to share made with the brand new Celebrate release by Simon Says Stamp. It's a quick and easy card with fun techniques.

 Please note: this post has affiliate links, for which I receive a small percentage of sales generated by the link, at no extra cost to you.

Layers of ink Vellum and acetate embossed card tutorial by Anna-Karin Evaldsson.

I couldn't decided wether I wanted an embossed clear card or an embossed vellum card and ended up combining the two for a fun, almost frosted effect, but also very shiny. It is translucent because of the vellum and shiny because of the acetate. The butterflies were die cut with the new Simon Says Stamp Whirl Butterflies die, which you might have seen me turn into flowers yesterday.

Layers of ink Vellum and acetate embossed card tutorial by Anna-Karin Evaldsson. Die cut Simon Says Stamp Whirl Butterflies.

I die cut the Whirl Butterflies from watercolor paper which had been colored with Paper Artsy Infusion Colored Stains. The papers were left-over from another project. Later, I also die cut the butterflies from Simon Says Stamp White Glitter paper.

Layers of ink Vellum and acetate embossed card tutorial by Anna-Karin Evaldsson. Emboss the acetate.

Fold a piece of Simon Says Stamp Acetate and emboss the front in the new Shimmering Starfall folder.

Layers of ink Vellum and acetate embossed card tutorial by Anna-Karin Evaldsson. Dry emboss the vellum.

Emboss a piece of vellum in the same folder.

Layers of ink Vellum and acetate embossed card tutorial by Anna-Karin Evaldsson.

Place the vellum behind the embossed acetate card front and line up the stars. Attach with mini staplers and trim the edges.

Layers of ink Vellum and acetate embossed card tutorial by Anna-Karin Evaldsson. Stamp Simon Says Stamp Just a Note

Stam the large sentiment from Simon Says Stamp Just a Note Notes with Sweets and Heather Pawsitively Saturated Inks.

Layers of ink Vellum and acetate embossed card tutorial by Anna-Karin Evaldsson. Die cut with the coordinating die.

I adhered the coordinating die with Simon Says Stamp Very Very Low Tack Tape, which is great for this purpose.

Layers of ink Vellum and acetate embossed card tutorial by Anna-Karin Evaldsson. Glue sentiment to the card.

Die cut the sentiment one more time from white glitter paper and offset slightly. Glue to the card with Simon glue.

Layers of ink Vellum and acetate embossed card tutorial by Anna-Karin Evaldsson.

Shape the wings of the butterflies and staple them to the card. Add sequins as a trail behind the butterflies.

Layers of ink Vellum and acetate embossed card tutorial by Anna-Karin Evaldsson.

The second butterfly. Yesterday, I posted a project using the Simon Says Stamp Whirl Butterflies die to make flowers. You can find the tutorial here.

Layers of ink Vellum and acetate embossed card tutorial by Anna-Karin Evaldsson.

The sentiment was stamped with the Heather ink and matted on white glitter paper. It looks a bit mangled, since it got a little damaged when I photographed the card.

Layers of ink Vellum and acetate embossed card tutorial by Anna-Karin Evaldsson.

Folded open, the card looks like this. I will later add a white panel to write the message on.

Layers of ink Vellum and acetate embossed card tutorial by Anna-Karin Evaldsson.

The butterflies are dimensional, but they can lay flat if you want to send the card through the mail.

Layers of ink Vellum and acetate embossed card tutorial by Anna-Karin Evaldsson.

This was a difficult card to photograph since it is very shiny, but the combination of the embossed acetate and the embossed vellum is pretty cool. Don't miss the two blog hops for the Celebrate release. The first one was yesterday and the second one is today

You can find my project for blog hop 1 here.

Simon Says Stamp Celebrate


Thank you so much for stopping by here today! 


Anna-Karin

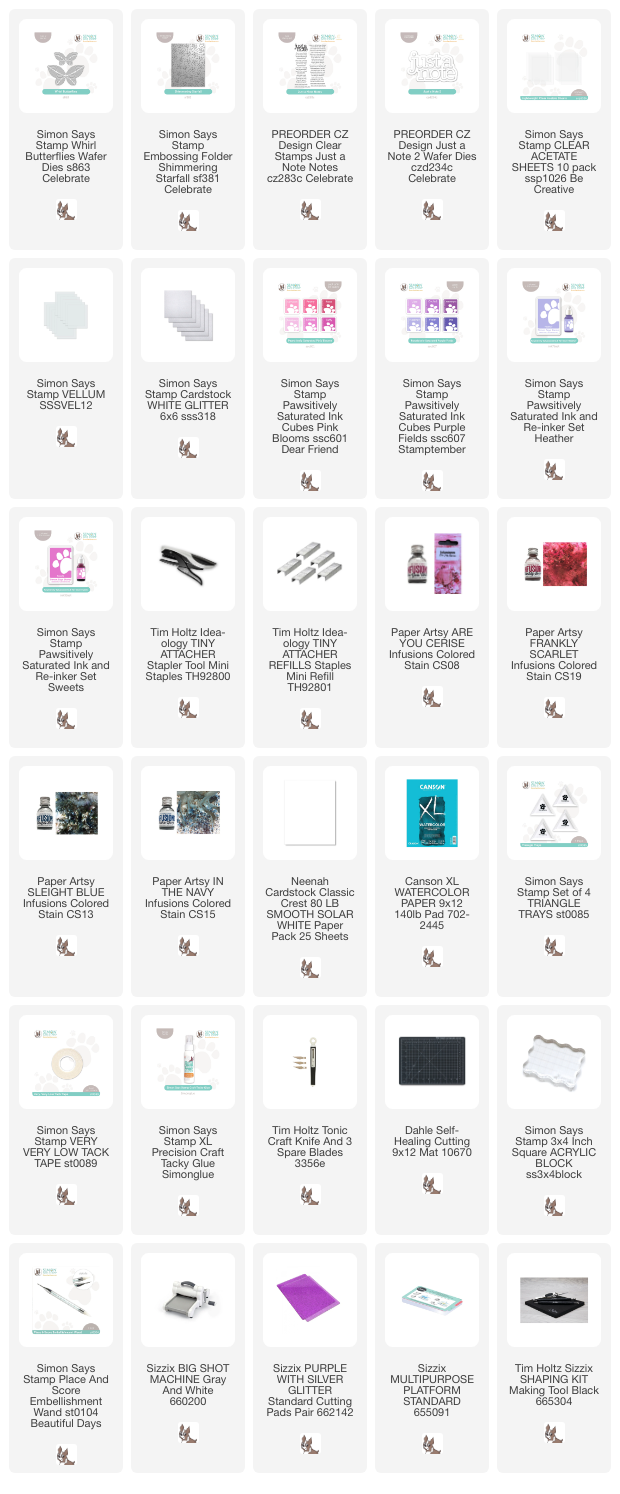
Supplies:

* Please note: the links are affiliate links, for which I receive a small percentage of sales generated by the link, at no extra cost to you.


Friday, April 19, 2024

Simon Says Stamp Celebrate Blog Hop

Hi and welcome to my blog! I am so happy to take part in the Simon Says Stamp Blog Hop to celebrate the new Celebrate release. If you are following along in the hop, you should have come here from Bibi Cameron.

Please note: this post has affiliate links, for which I receive a small percentage of sales generated by the link, at no extra cost to you.

Simon Says Stamp Celebrate blog hop


The Celebrate release is full of wonderful new and versatile stamps, stencils, dies, ink and sequins. You can find the entire Celebrate release here. If you use the code GHBD you can get the Groovy Happy Birthday die FREE with any purchase.  until 4/21 at 11:59 pm EDT. Make sure that you follow the instructions on the image above to claim your free gift.

Simon Says Stamp Celebrate blog hop

I made a tag, but it can also be turned into a card. Let's start.

Layers of ink- Butterfly Flowers Tutorial by Anna-Karin Evaldsson.

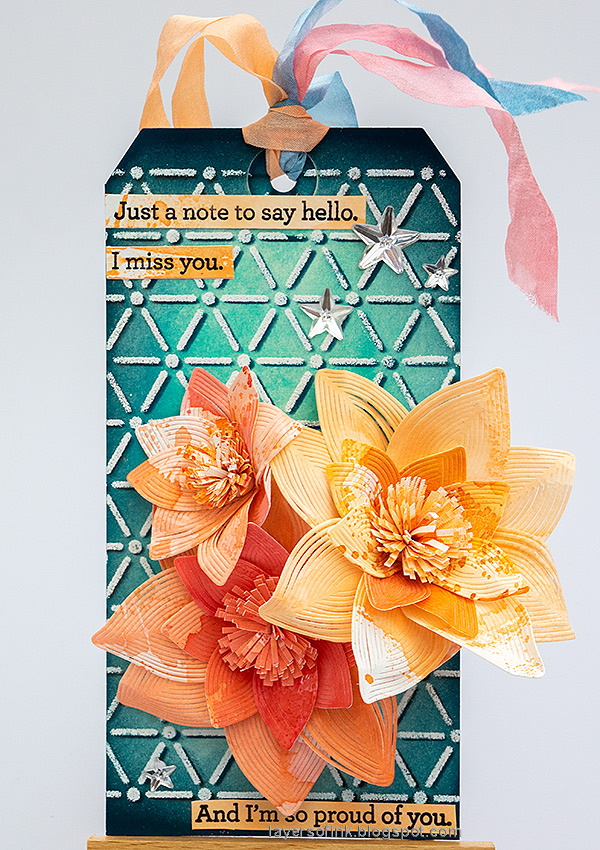
I made large dimensional flowers for my project, but not with a flower die. I like to use dies in different ways and these flowers were made with the new Simon Says Stamp Whirl Butterflies, from the Celebrate release. When I saw the butterfly die, I immediately thought the wings would make great petals. The background is stenciled with a shadow effect.

Layers of ink- Butterfly Flowers Tutorial by Anna-Karin Evaldsson. Apply embossing ink and white emboss.

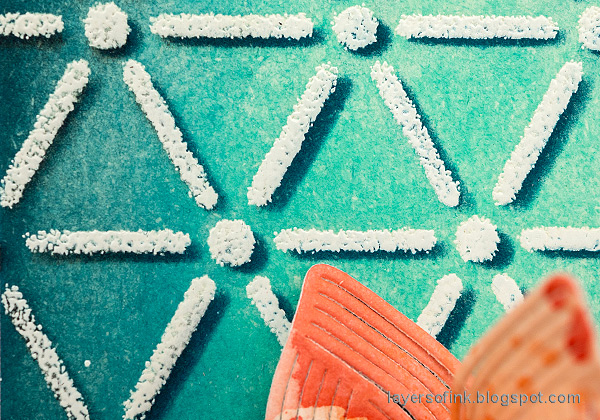
Start by applying embossing ink through the Simon Says Stamp Dash and Dot stencil. Emboss with white embossing powder. 

Layers of ink- Butterfly Flowers Tutorial by Anna-Karin Evaldsson. Ink with Distress Ink.

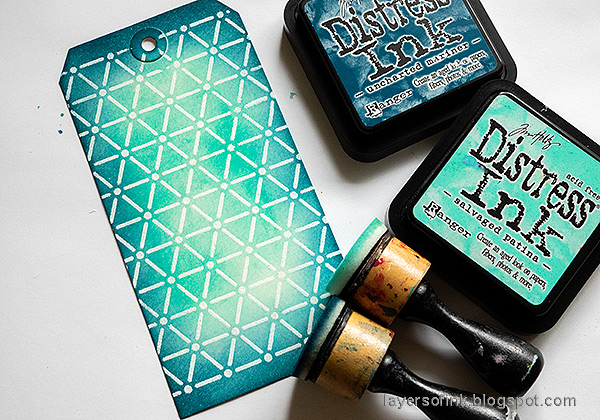
Ink with Distress Ink. The embossing will resist the ink.

Layers of ink- Butterfly Flowers Tutorial by Anna-Karin Evaldsson. Ink to add a shadow.

Place the stencil back on the design, off-setting it slightly. Ink with Uncharted Mariner and Black Soot, for a shadow effect.

Layers of ink- Butterfly Flowers Tutorial by Anna-Karin Evaldsson.

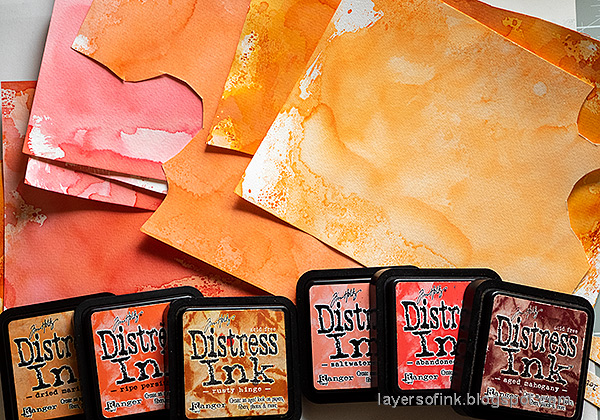
For the flowers, first create a bunch of paper. Smear Distress Ink on a non-stick craft sheet, mist with water and press the paper into the ink. Let dry and repeat. 

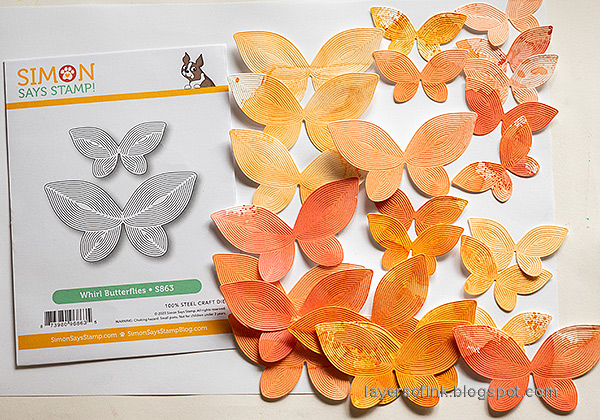
Layers of ink- Butterfly Flowers Tutorial by Anna-Karin Evaldsson. Die cut Simon Says Stamp Whirl Butterfly.


Layers of ink- Butterfly Flowers Tutorial by Anna-Karin Evaldsson.

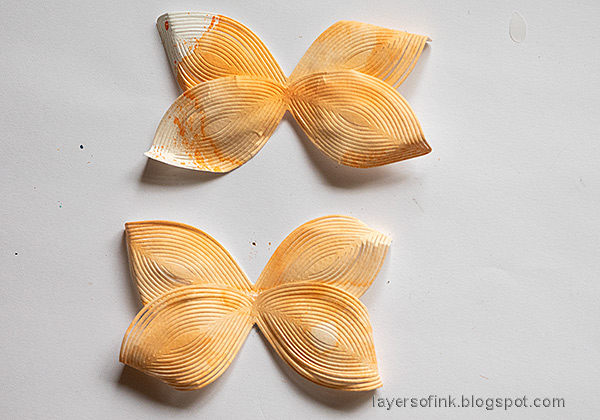
Cut off the smaller wings with a pair of scissors.

Layers of ink- Butterfly Flowers Tutorial by Anna-Karin Evaldsson. Shape the petals.


Layers of ink- Butterfly Flowers Tutorial by Anna-Karin Evaldsson.

Glue two pairs of wings together like this.

Layers of ink- Butterfly Flowers Tutorial by Anna-Karin Evaldsson. Assemble the flowers.

And then glue the two sets together to create a flower.

Layers of ink- Butterfly Flowers Tutorial by Anna-Karin Evaldsson.

I made two large flowers and one small. Place smaller flowers in the large ones.

Layers of ink- Butterfly Flowers Tutorial by Anna-Karin Evaldsson. Fringe the paper.

Fringe a piece of scrap paper.

Layers of ink- Butterfly Flowers Tutorial by Anna-Karin Evaldsson. Fringed flowers.

Roll the paper and glue the end to create fringe flowers.

Layers of ink- Butterfly Flowers Tutorial by Anna-Karin Evaldsson. Paper flowers.

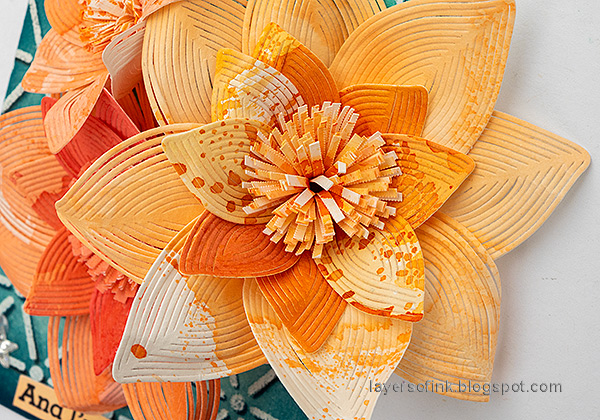
Glue the fringed flowers to the center of the butterfly flowers.

Layers of ink- Butterfly Flowers Tutorial by Anna-Karin Evaldsson. Dye ribbon.

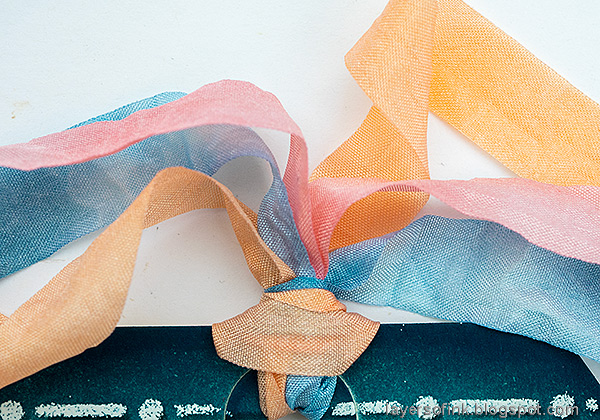
Dye May Arts Wrinkled Faux Silk ribbon with Distress Ink. 

Layers of ink- Butterfly Flowers Tutorial by Anna-Karin Evaldsson.

Stamp some of the sentences from Simon Says Stamp Just a Note Notes on scrap paper and cut into strips. You can find a lot of useful sentiments on this set. Remember that you don't have to use the entire sentiments. I also added some Tim Holtz Mirrored Stars.

Layers of ink- Butterfly Flowers Tutorial by Anna-Karin Evaldsson.

The ribbon coordinates with the tag, since the same inks were used.

Layers of ink- Butterfly Flowers Tutorial by Anna-Karin Evaldsson. Stenciled shadows.

This is an easy way to create a 3-D effect with a stencil.

Layers of ink- Butterfly Flowers Tutorial by Anna-Karin Evaldsson.

The flowers are quite dimensional. They would also make great gift toppers and/or fridge magnets.

Layers of ink- Butterfly Flowers Tutorial by Anna-Karin Evaldsson.

I used lighter colored paper for the larger petals and slightly darker petals for the smaller flower.

Layers of ink- Butterfly Flowers Tutorial by Anna-Karin Evaldsson.

This is the small flower, using only the wings from the small butterfly.

Layers of ink- Butterfly Flowers Tutorial by Anna-Karin Evaldsson.

I hope you enjoyed this tutorial!

Don't miss all the inspiration along the hop. There are of course prizes to be won too, and at each stop on the hop SSS is giving away a $25 coupon, randomly drawn from those who leave a comment. The winners will be posted post on the Simon Says Stamp store blog on 24 April.

Your next stop on the hop is Heather Hoffman. Don't miss to see the wonderful project she has created. If you get lost along the way, here are all the stops:

Anna-Karin Evaldsson (you are here)

For more inspiration, remember to check out the Celebrate gallery at Simon Says Stamp, and if you make something with products from the range, it is fun if you post it in the galleries too. There are galleries for all releases, and for the card kits, full of inspiration.

This is the first Celebrate blog hop, don't miss blog hop number day number 2, which is tomorrow.


Thank you so much for stopping by here today! 

Happy crafting!

Anna-Karin

Supplies:

* Please note: the links are affiliate links, for which I receive a small percentage of sales generated by the link, at no extra cost to you.